Onboarding Merchants
This guide is for operations staff onboarding merchants to Network International's White Labelled Payment Gateway.
Accessing tenant portal
Once your payment gateway has been set up you will be given access to the tenant portal.
- Log in and set a password.
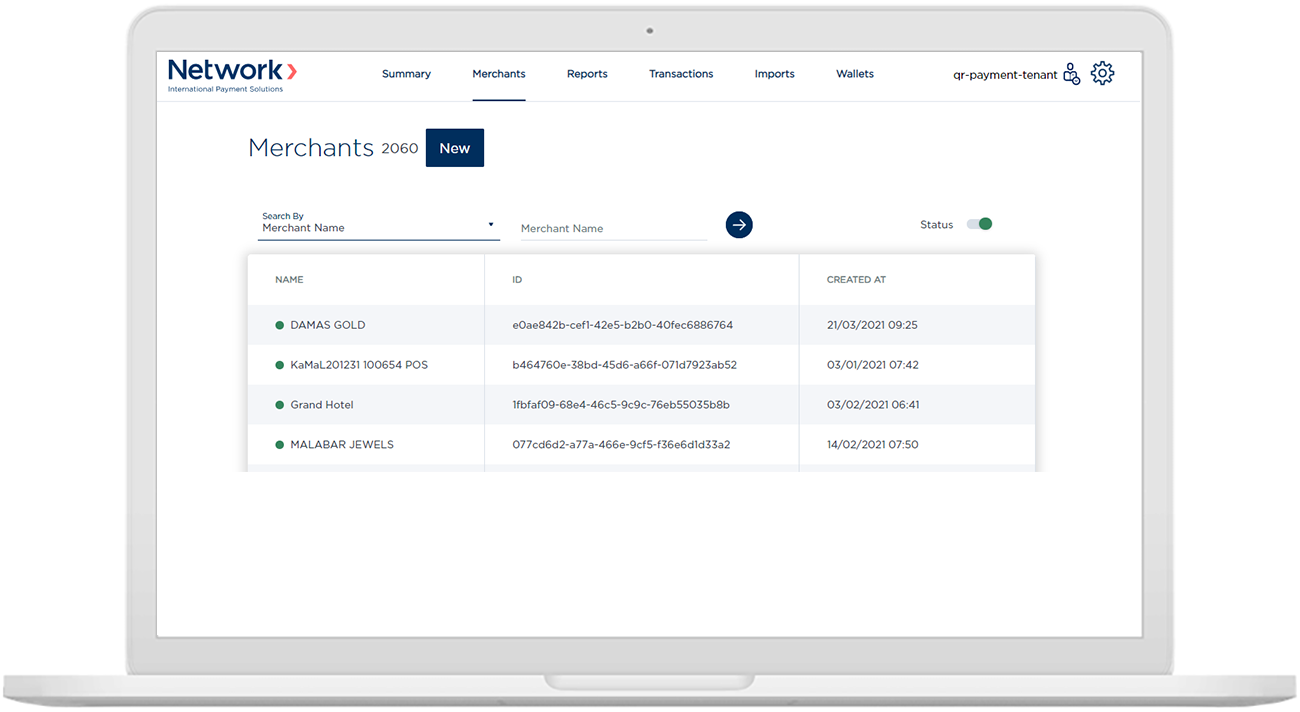
- Go to the "Merchants" tab, where you will see all merchants listed.
- Click "New".
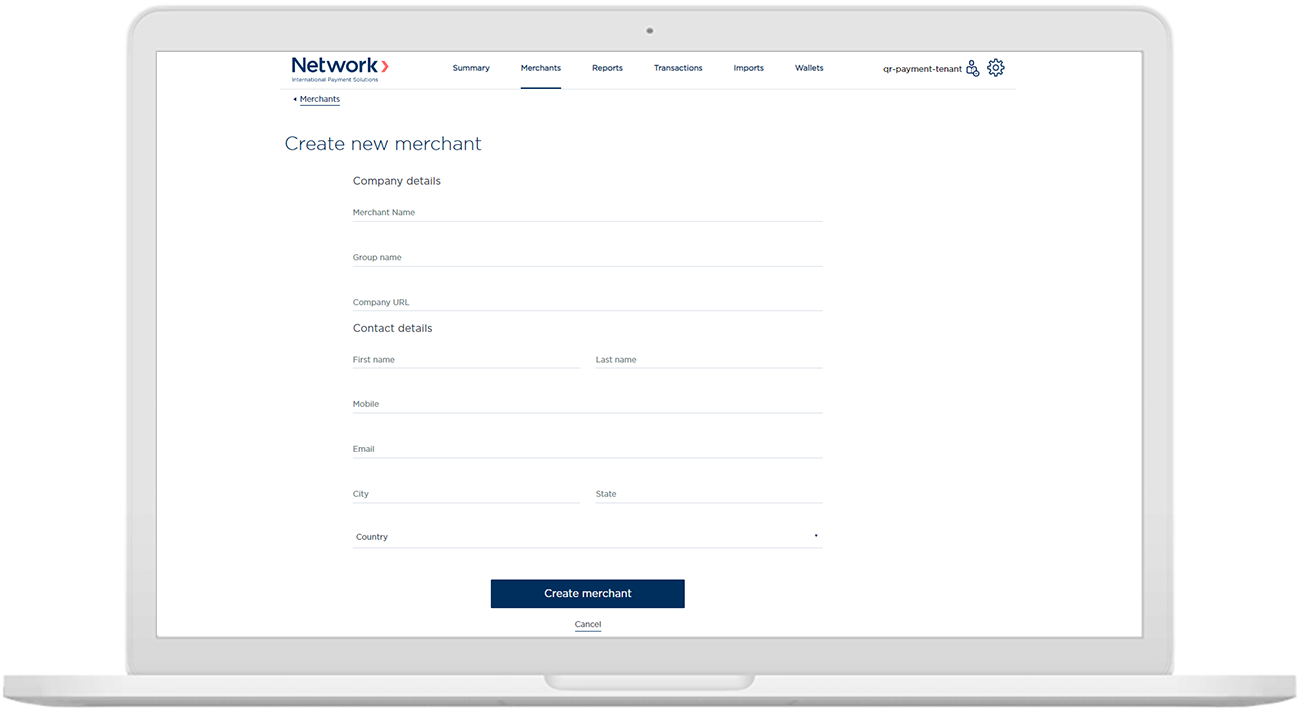
- Fill in the details of the merchants in this section and click "Create merchant" once done.
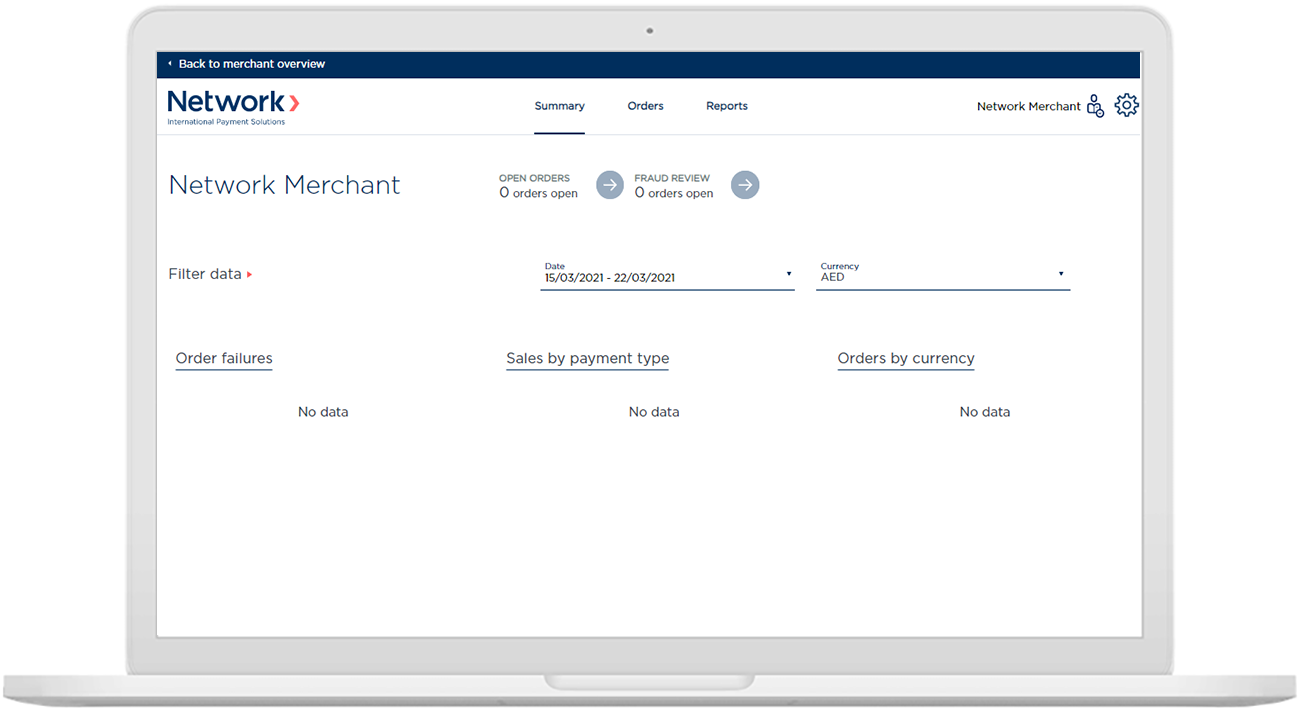
- In the list of merchants, search for the merchant name and click on the merchant. Then you will be able to see the merchant view.
Add user
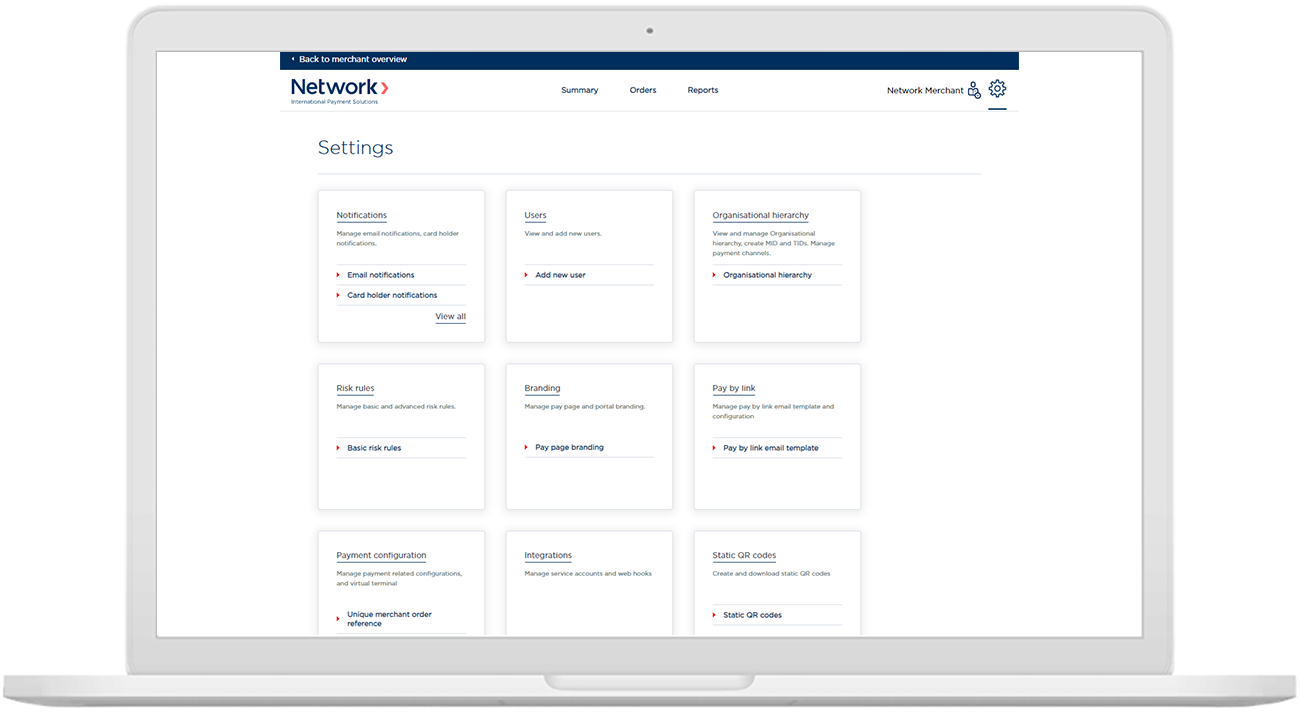
- Click on the “Settings” tab. You will now be able to add users to your new Merchant Profile. Click on the “New” tab.
-
Fill in the details of the user with name, email and phone number.
-
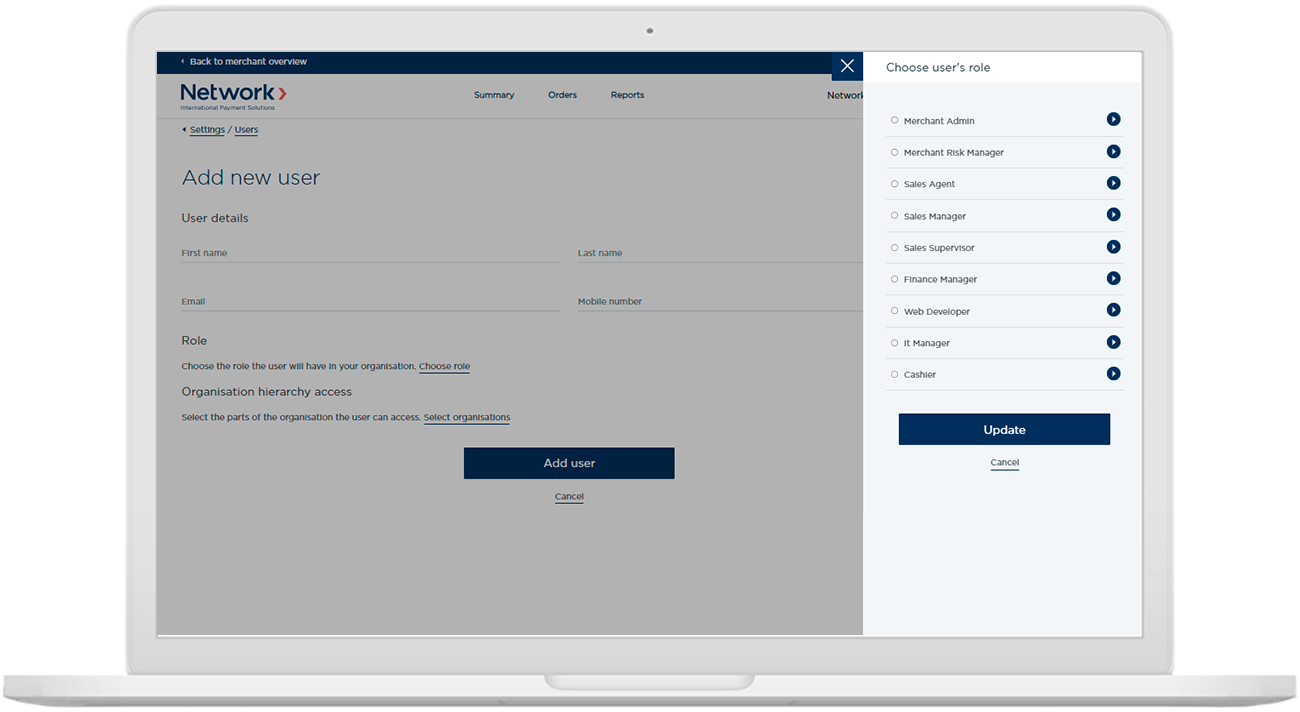
Click on "Choose role" and select "Merchant Admin" for the first user.
The merchant will then receive an email invitation to set their password and access their portal. The merchant can then set up their own team access with all the various user roles as needed. More detail on the hierarchy and user roles can be found on the merchant documentation site.
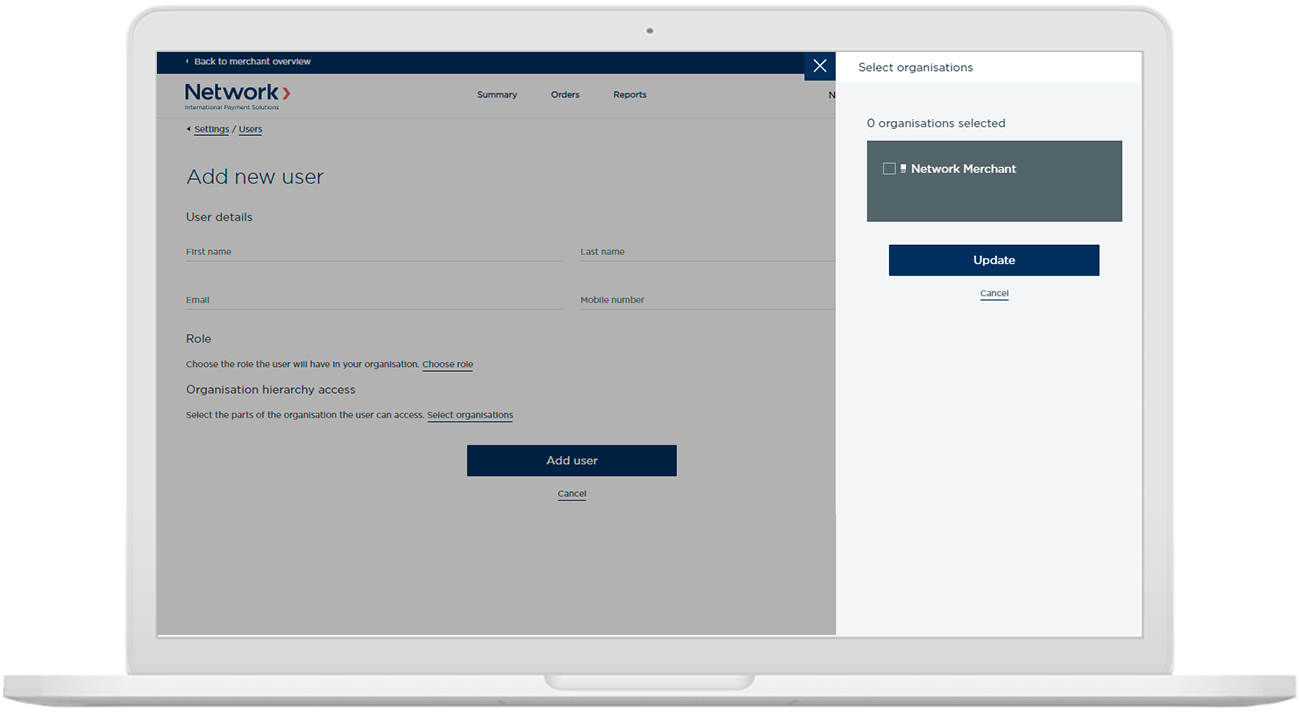
- Select organisation (there will only be one in the initial setup) and click "Update".
Risk rules setup
In the risk rules section, you can choose from Basic or Advances risk rules.
Firstly, let's set up Basic risk rules.
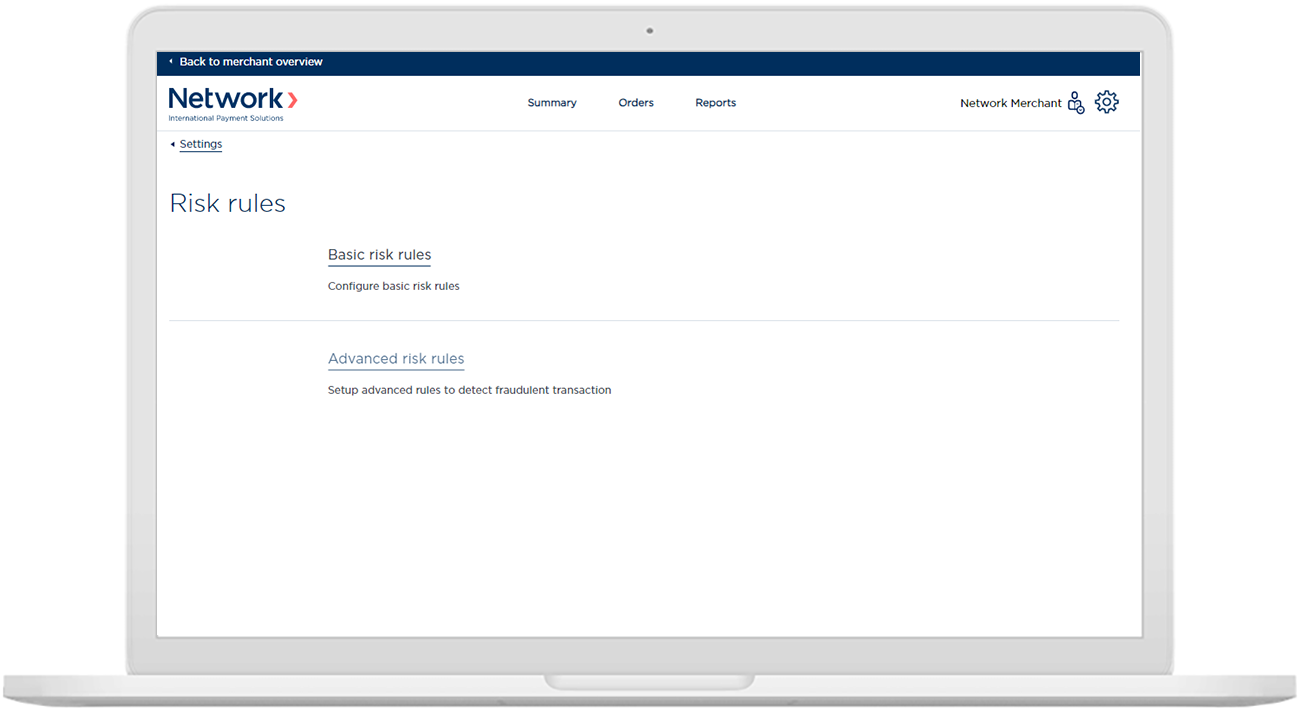
The list of risk rules can be tailored to the risk profile of the merchant, which is usually analysed by the risk team after KYC/AML is done.
You can set the following risk rules
- Currency limits
- Country BIN blacklists
- PAN whitelist/blacklist
- Email/domain blacklist/whitelist
- BIN blacklist
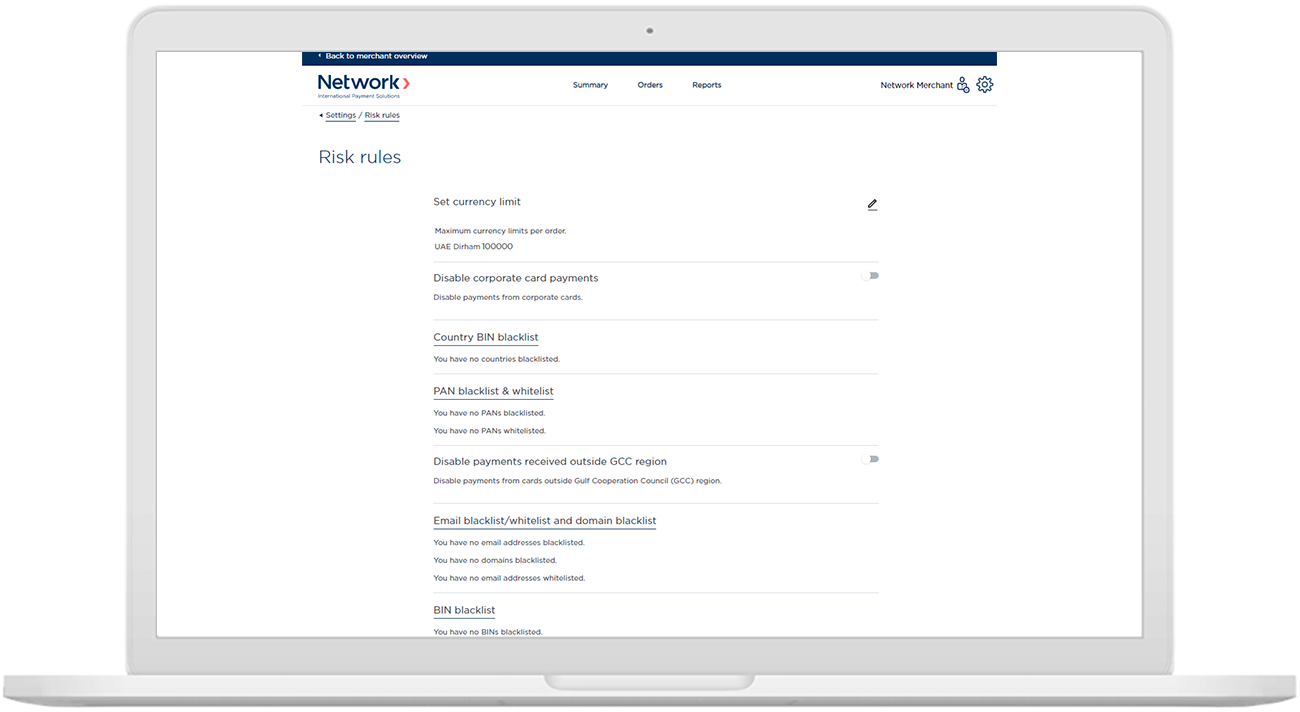
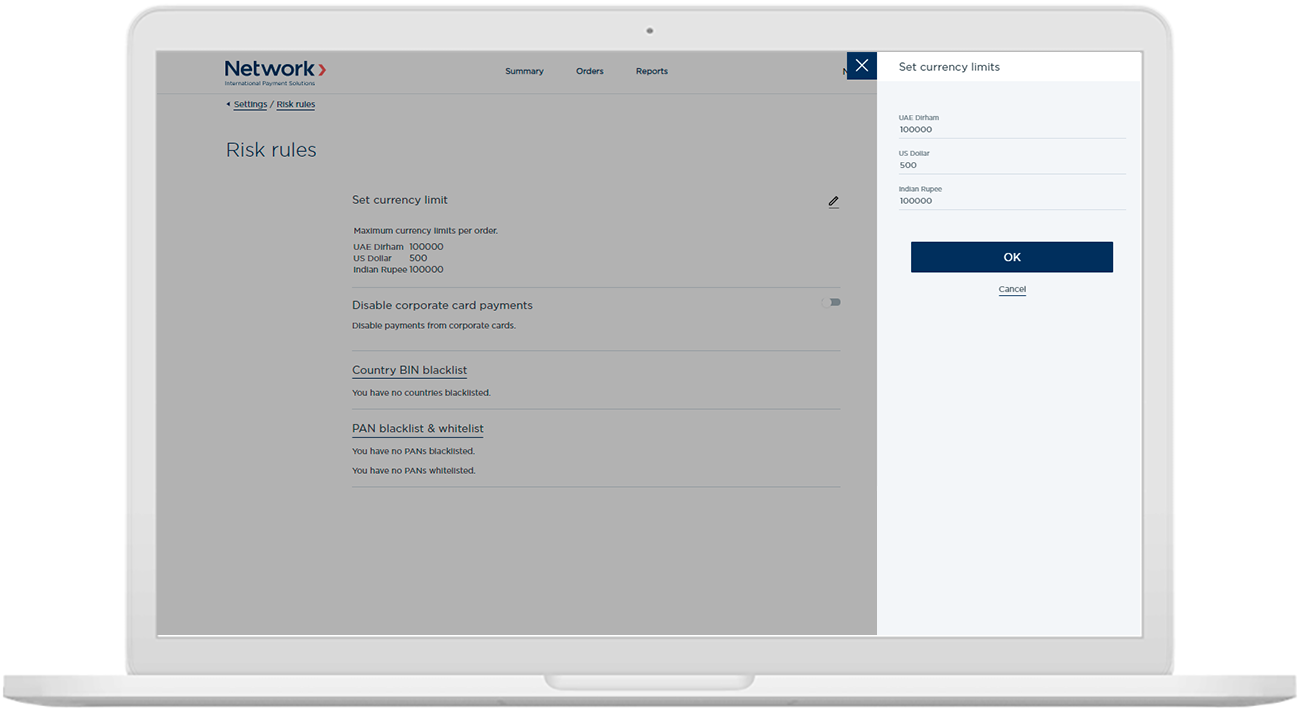
Set all currency limits as per merchant processing requirements, then click “OK”.
NB: Limits per merchant cannot exceed the limits set on a tenant level.
Organisational hierarchy
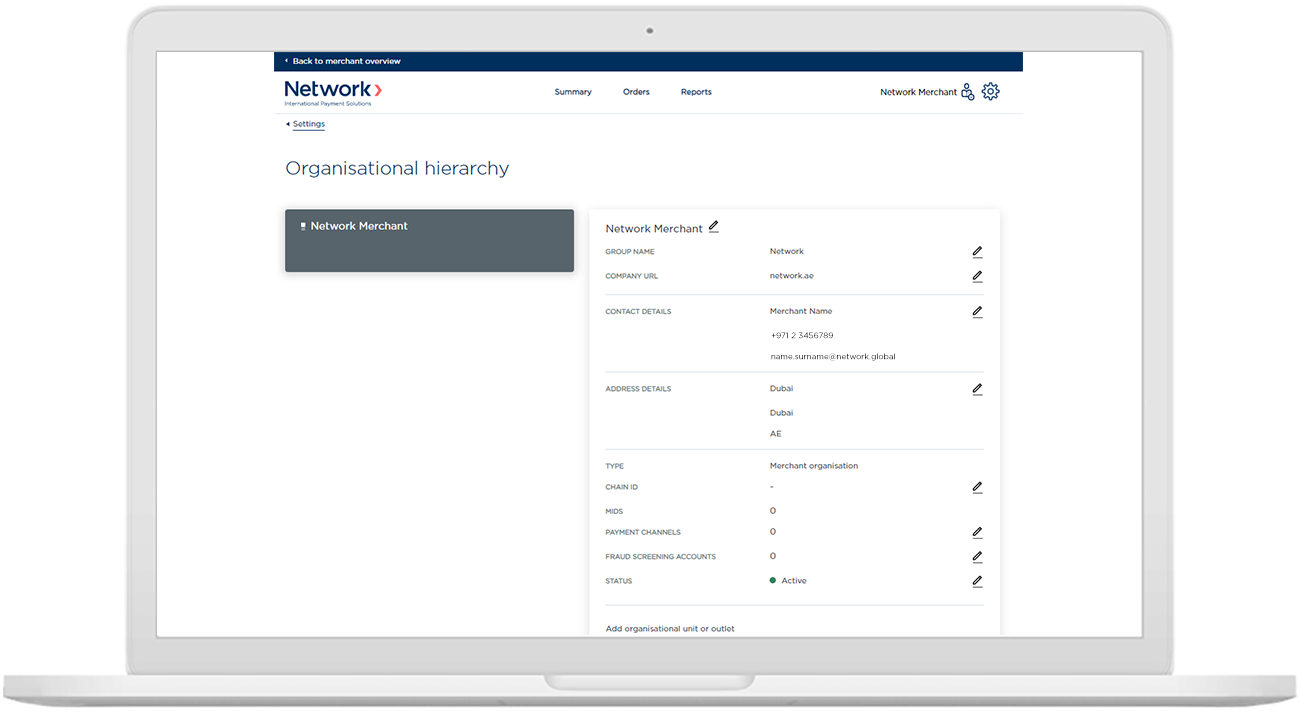
To set up the merchant details, go to "Settings" and select "Organisational Hierarchy".
- Select the edit button next to "Chain ID" and enter in the chain ID you have onboarded this merchant with, and click "Add".
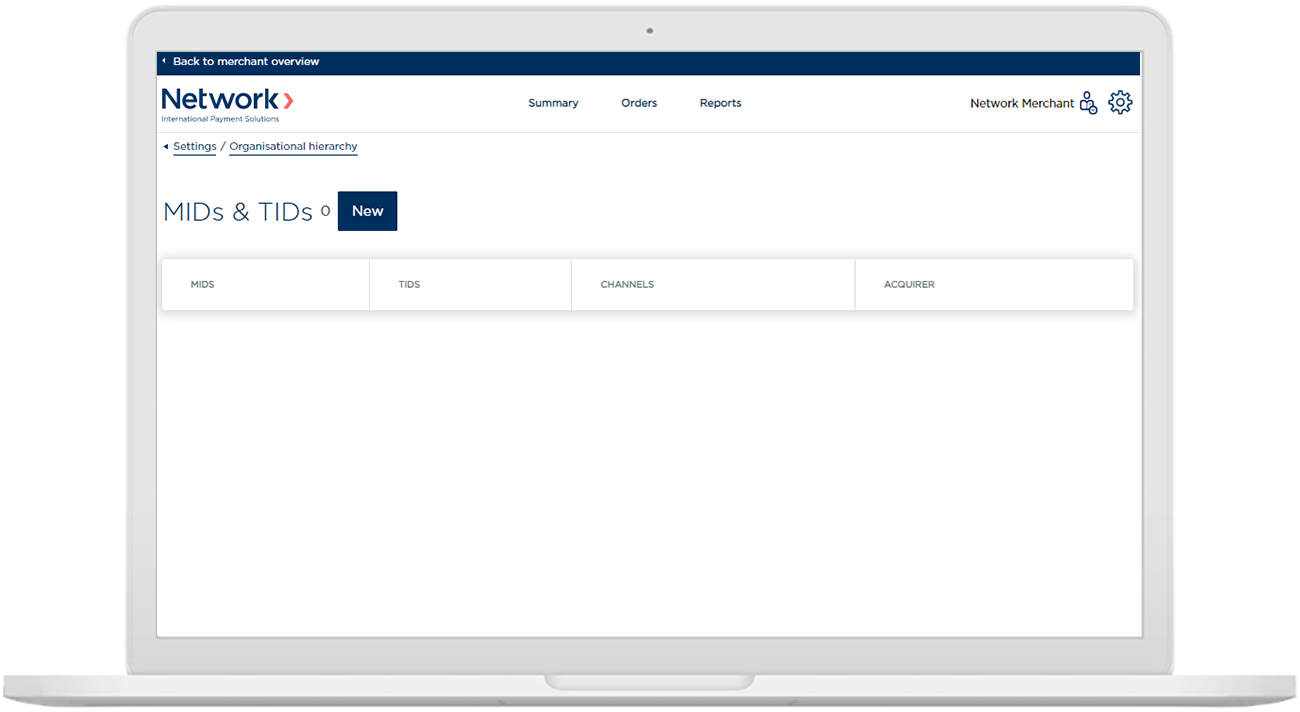
- Select the edit button next to "MIDs".
- Click "New" next to MIDs & TIDs.
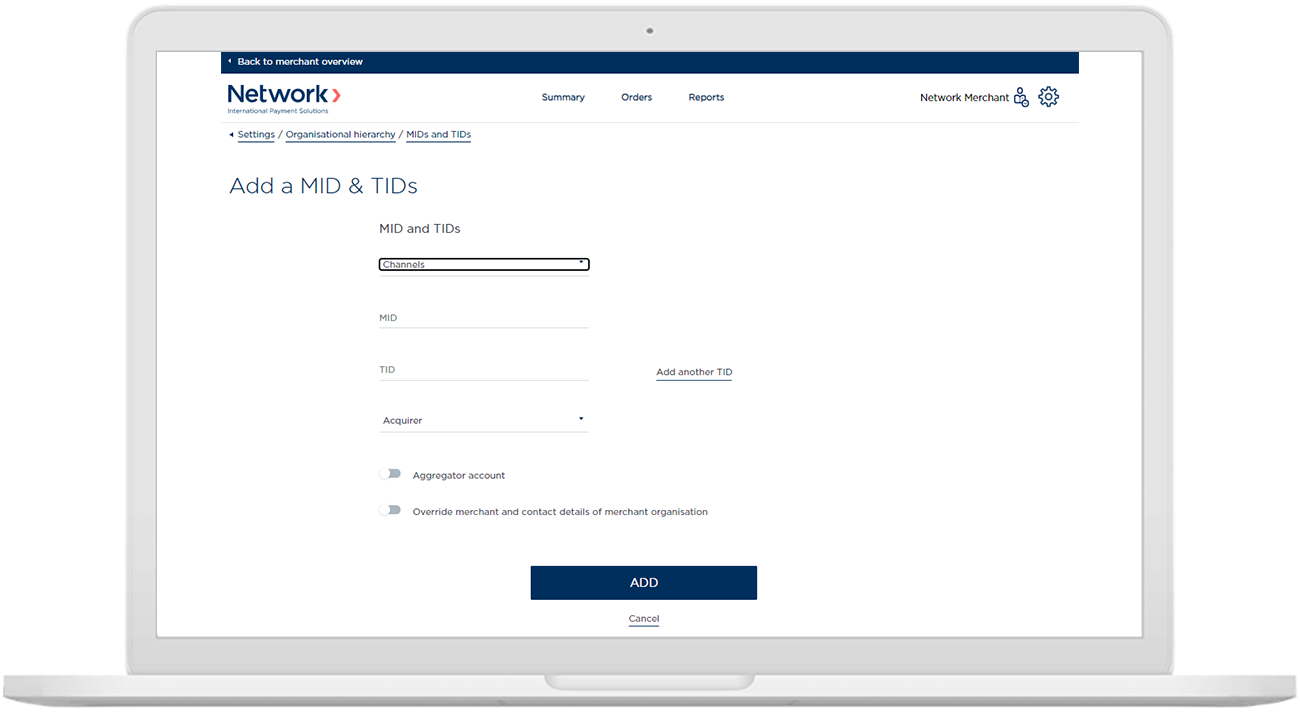
- Select what channel the MID is using e.g. Ecom, and enter the MID and the TID. A TID is associated with the outlet. Repeat this process to add more MIDs and TIDs in this organisational part of the hierarchy.
- Go to organisational hierarchy. At the end it says "add organisational unit or outlet". For this merchant, you have to add an outlet per organisational unit.
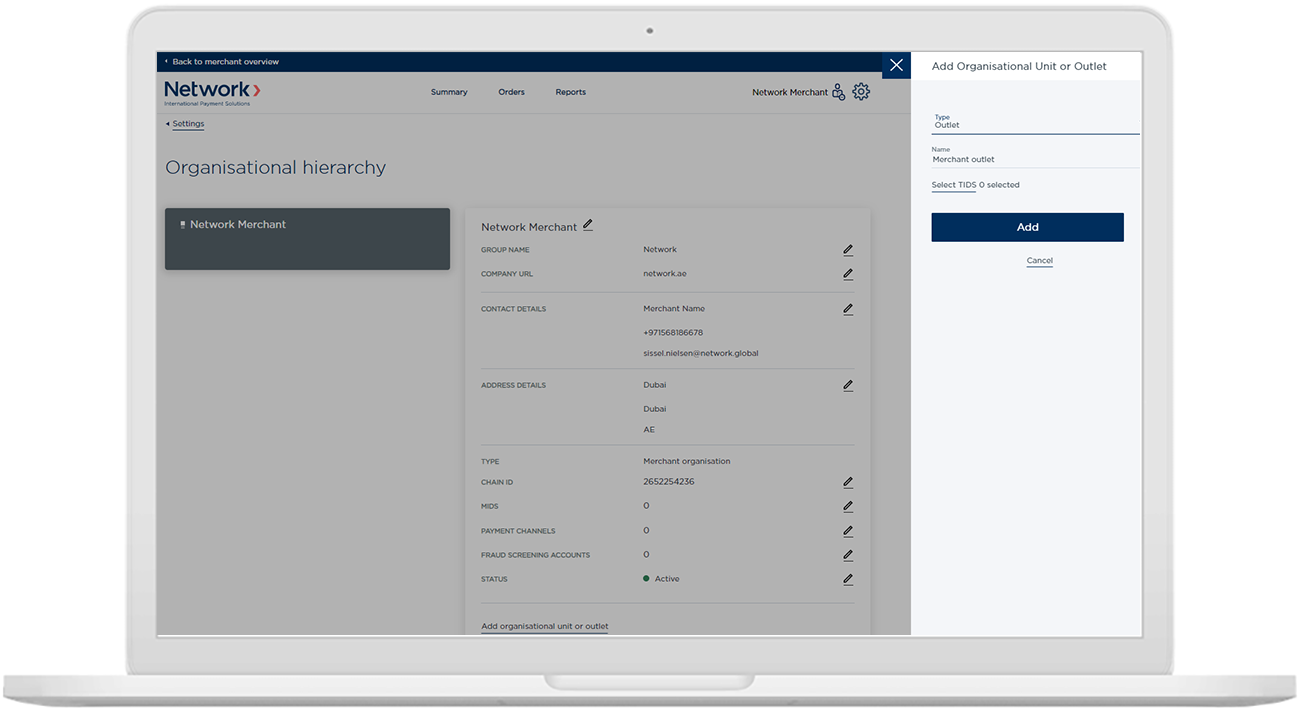
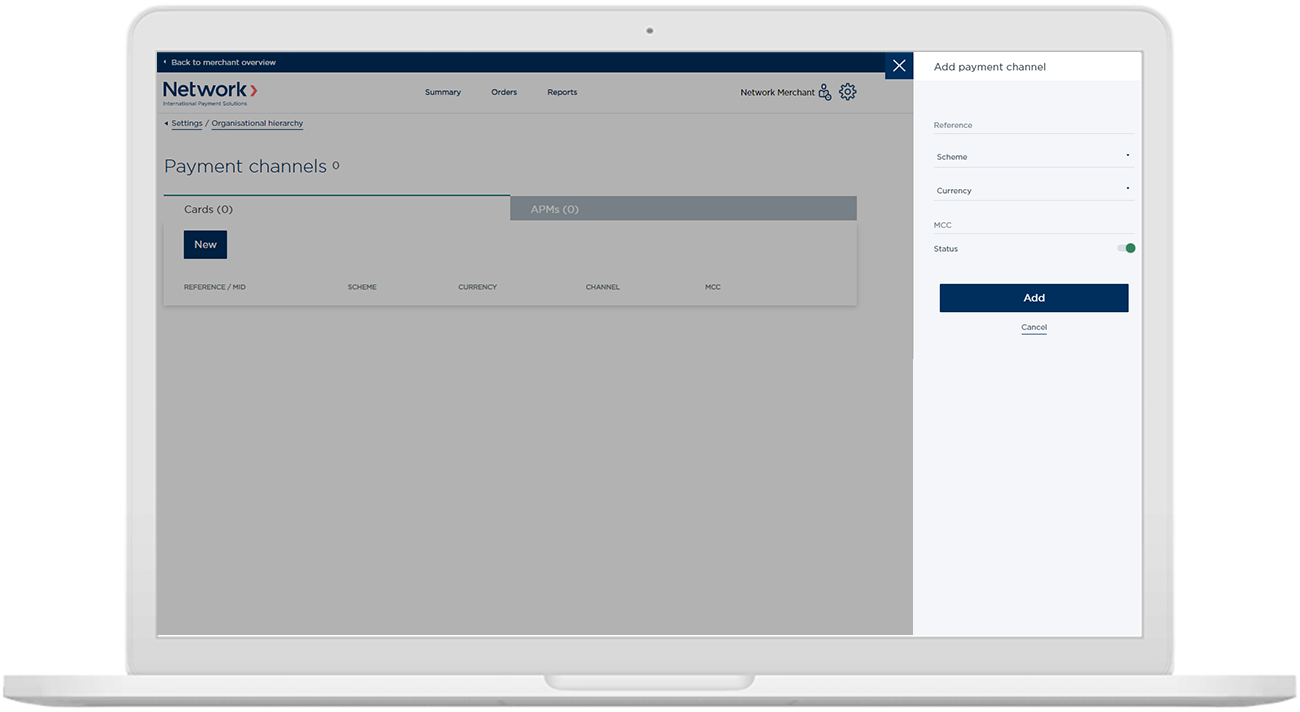
- Add the payment channels that the MIDs should be able to take payments for, i.e. Visa, Mastercard, and which currencies you have available, plus the MCC (Merchant Category Code) associated with the MID.
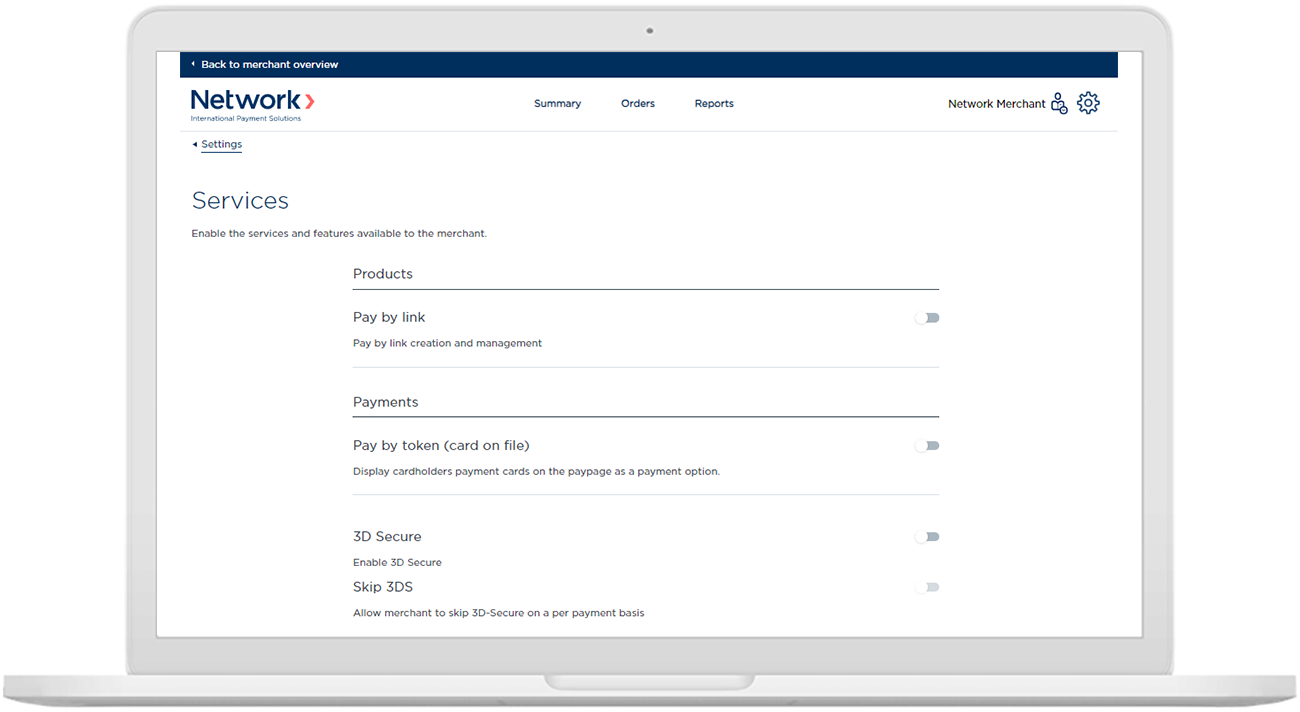
- Go back to the "Settings" screen and select "Services", where you can enable different product features to the merchant according to what they have asked for. For example you can enable them to use Pay by Link or Virtual Terminal, or enable 3DS and Service accounts, which is there for the merchant to be able to integrate their website with the gateway.
Merchant guides
The merchant can set up their own branding on the payment page and do various integration methods. Please refer to https://docs.ngenius-payments.com for detailed merchant guides.
Updated over 4 years ago
