Manage Merchant App
The Acquirer tenant portal is there to manage merchants, whether using wallets or the payment gateway. In this section, we will focus on how to manage the Merchant app and how to use the portal features.
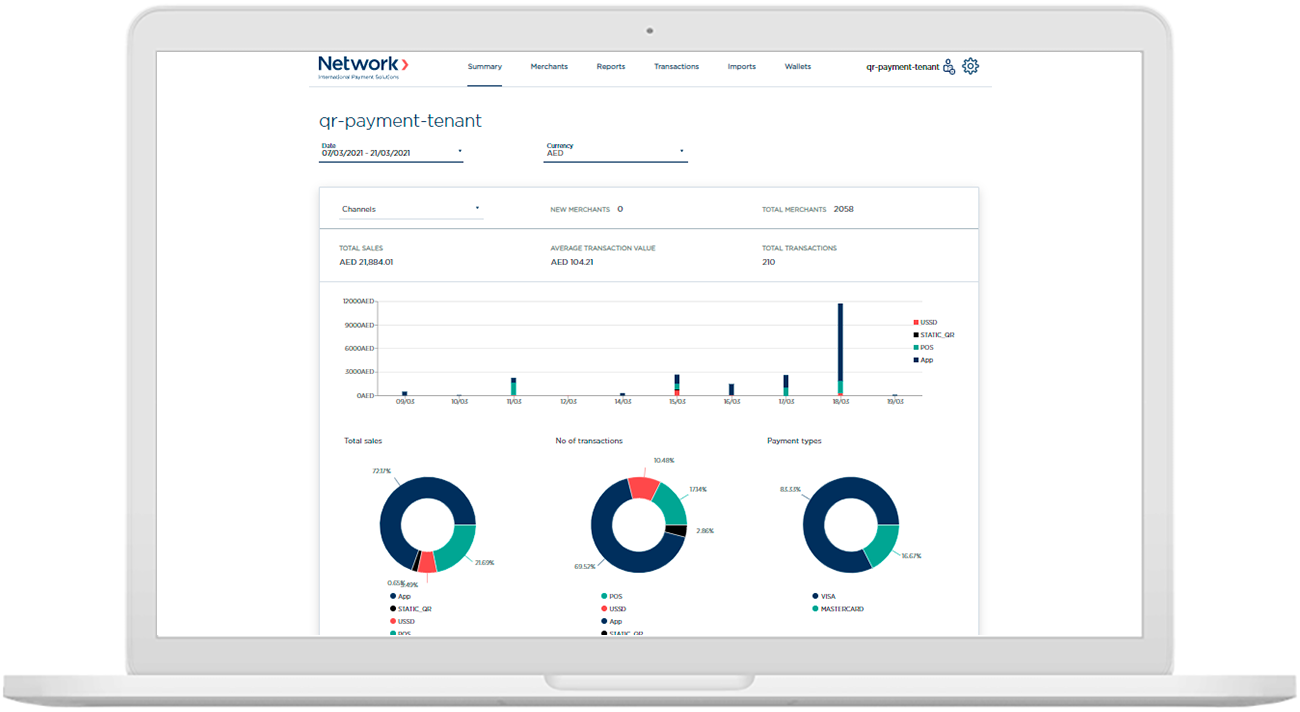
Onboarding merchants for app
Onboarding of merchants to use the merchant app happens automatically from the integrated onboarding system to your bank's backend.
If you have to manually onboard a merchant for merchant app, you can also do so using the portal.
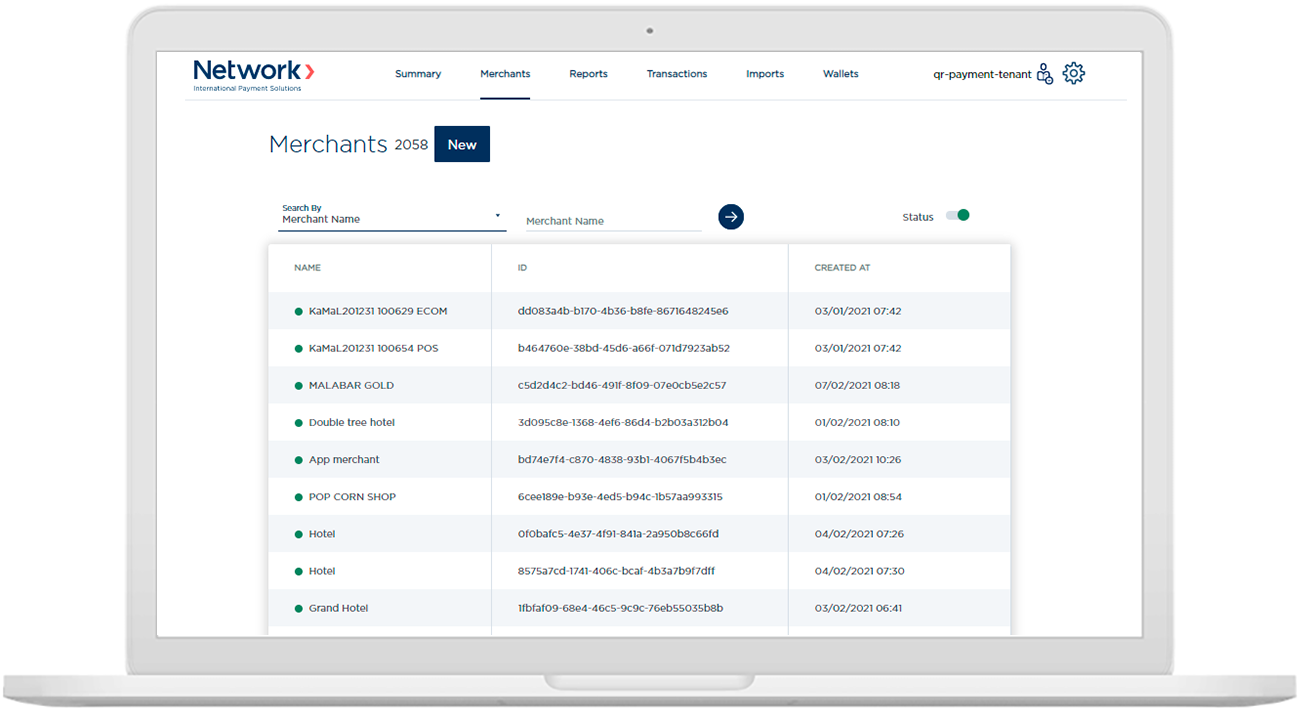
Create new merchant
On the Merchant tab, when clicking on the "New" button, you will be taken to the following screen to fill out details of your merchant.
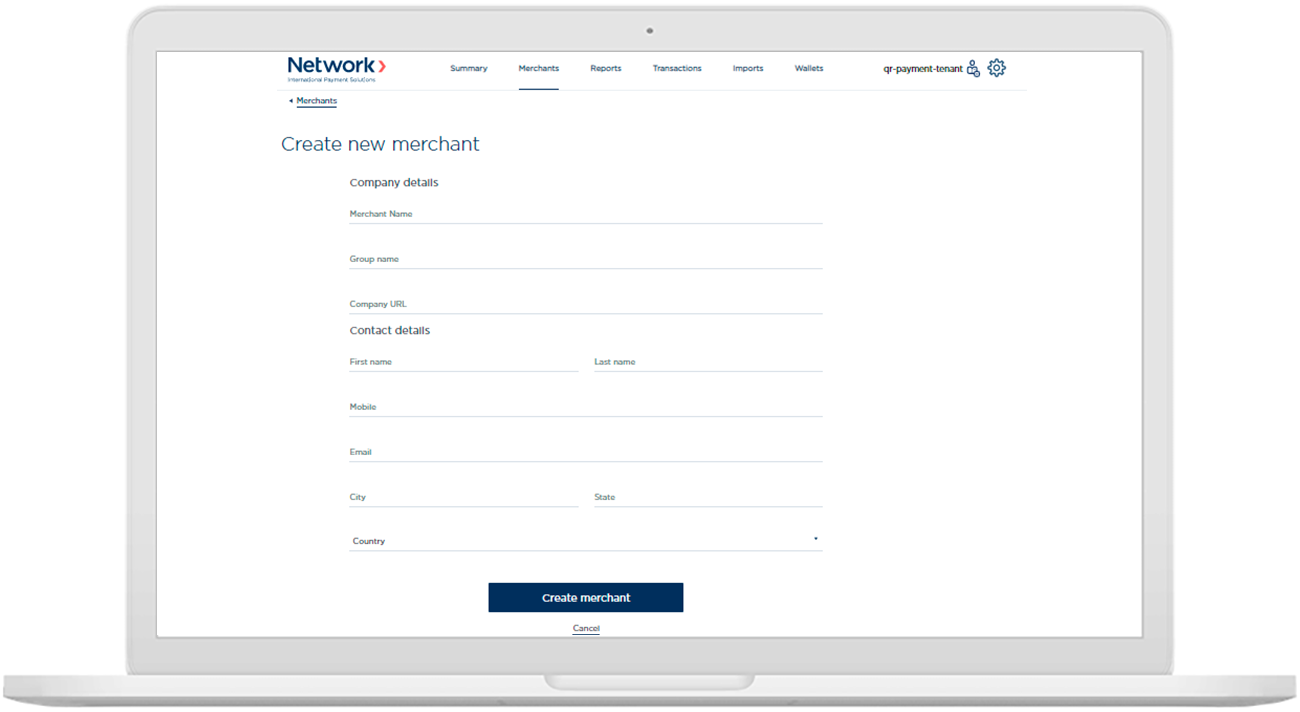
Once you have filled out the details of the merchant and clicked on "Create Merchant" you will be taken back to the main list of merchants.
Search for the merchant name you just created and click on the merchant view.
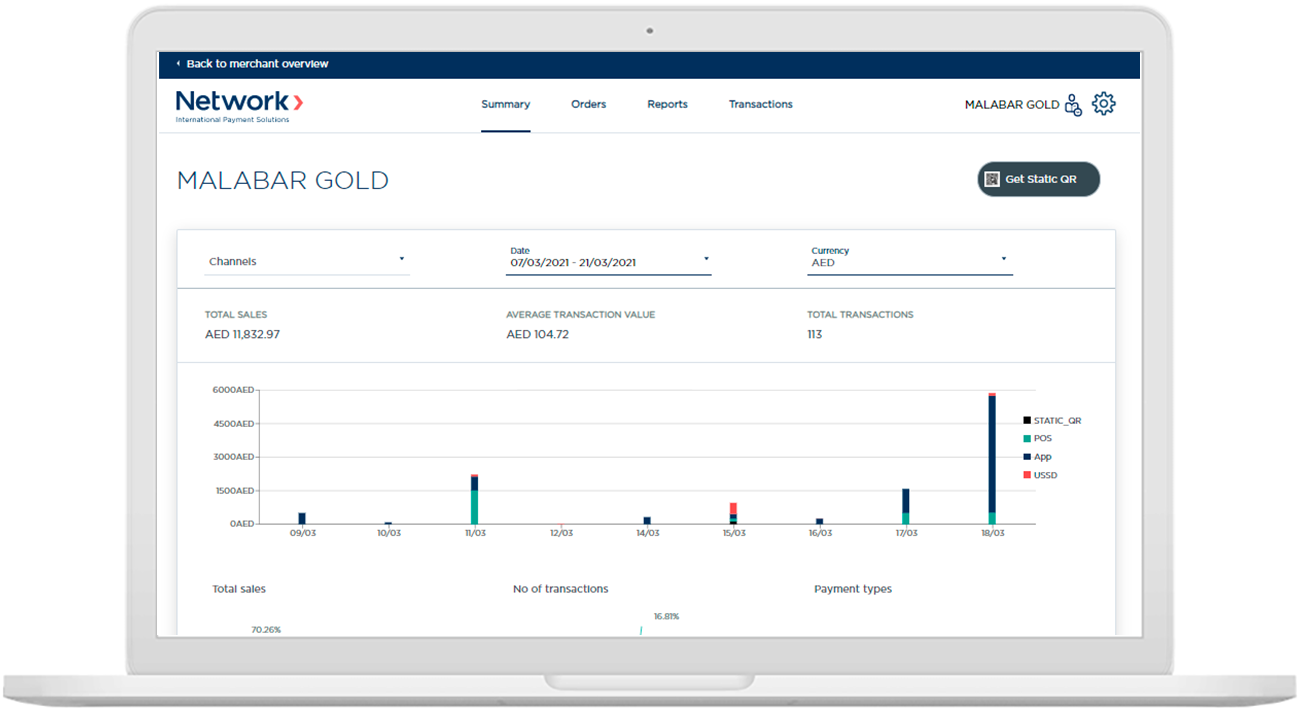
Manage merchant wallets
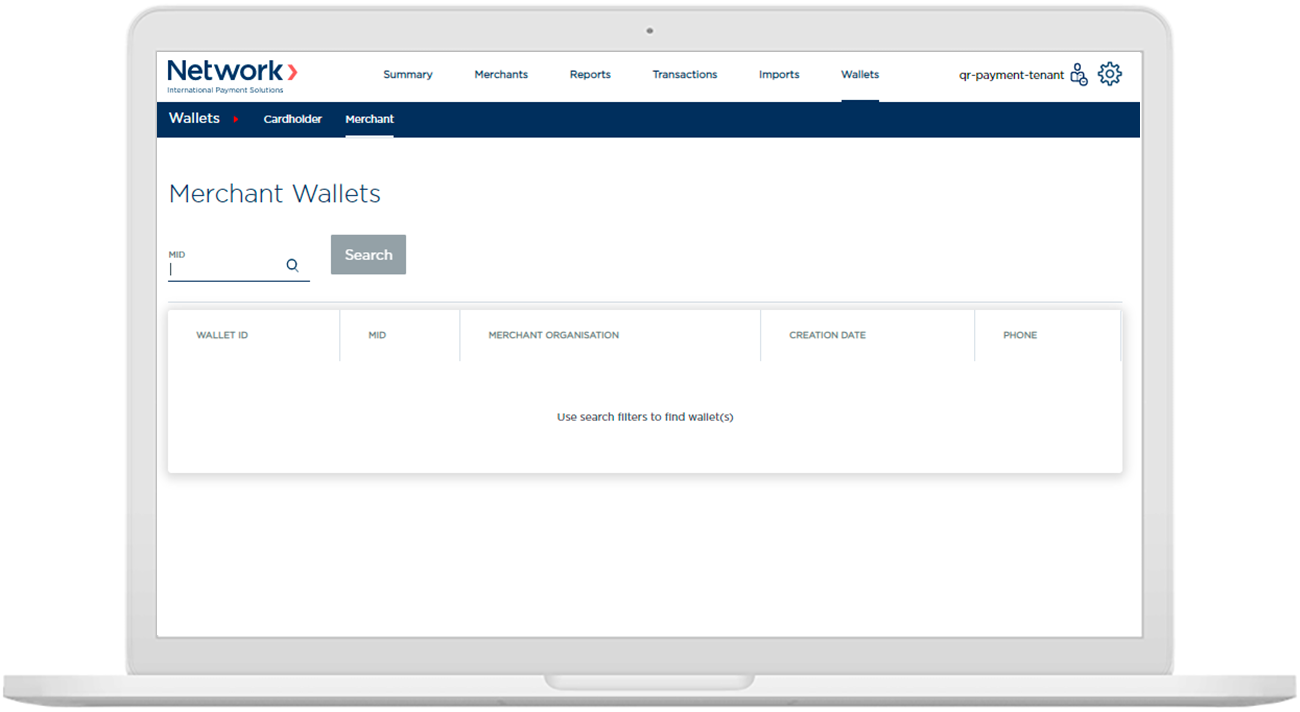
In the "Wallet" section, when choosing "Merchant" you will be able to search for the merchant wallet using their MID (Merchant ID).
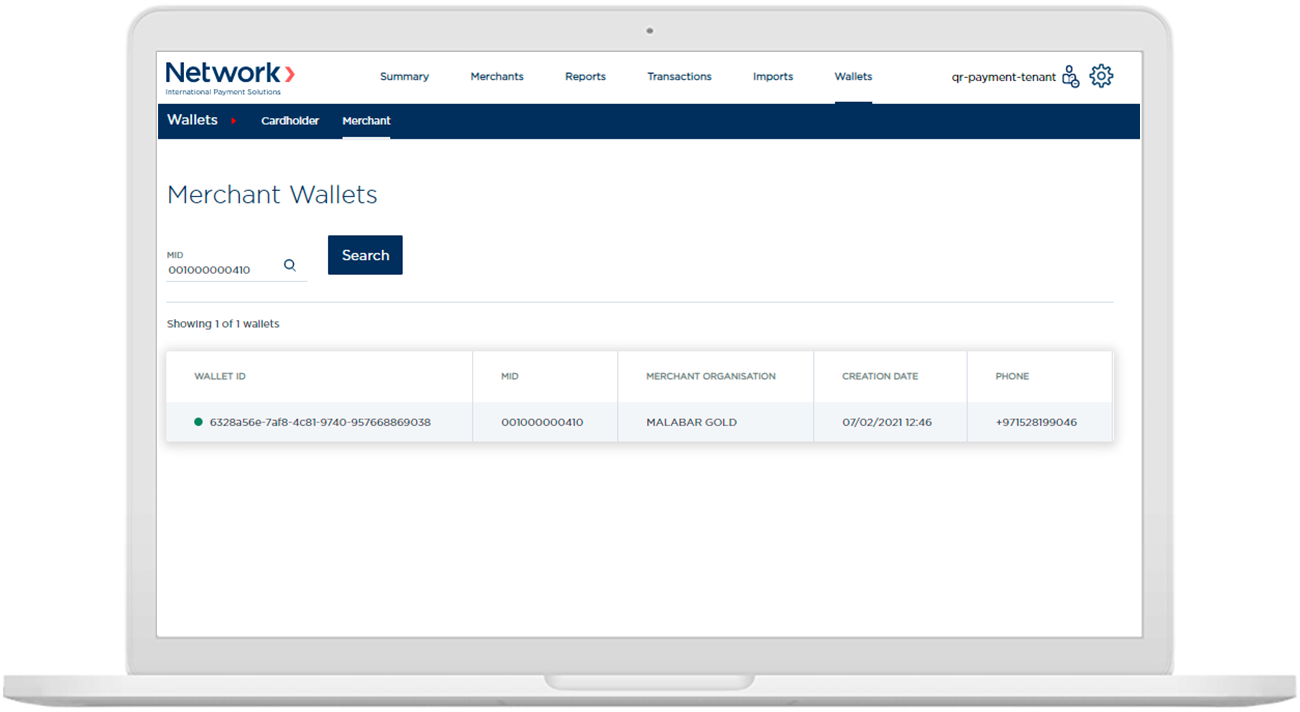
Once you have searched for the MID, click on the merchant as seen below.
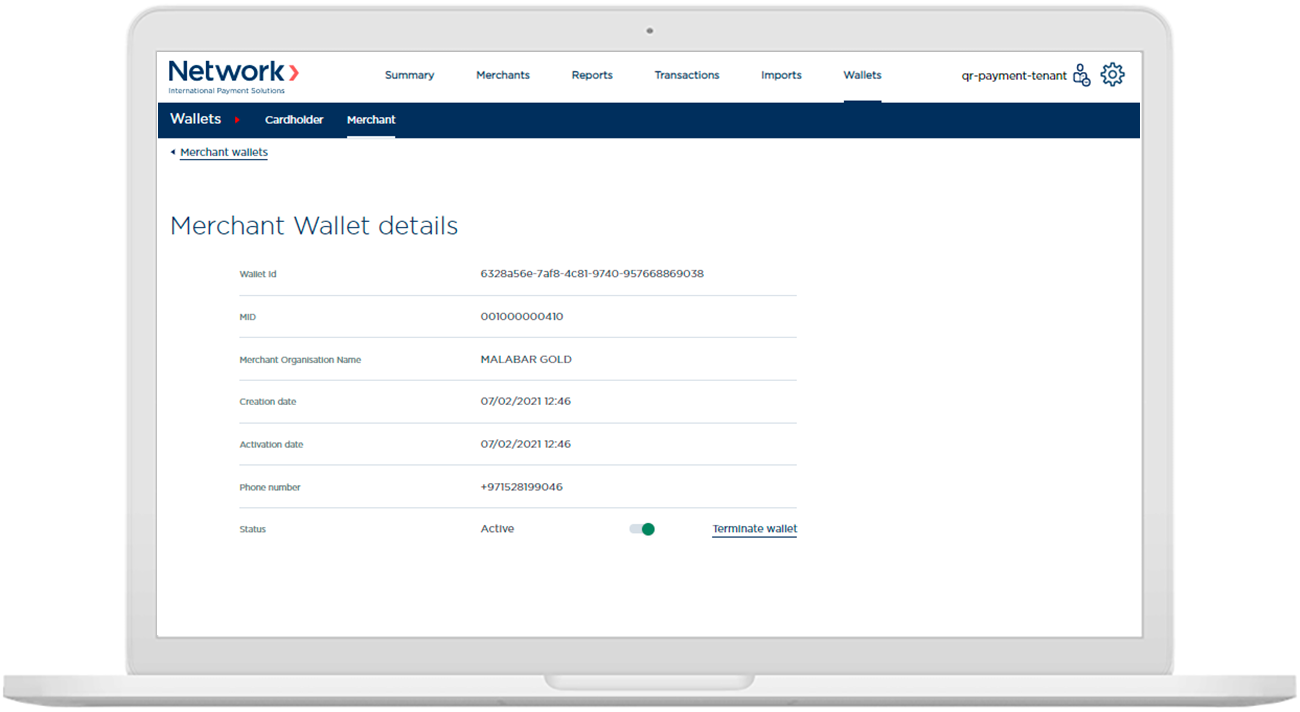
You will then be taken to the Merchant Wallet Details screen, where you can view details of the merchant wallet and terminate the wallet if needed.
App Settings
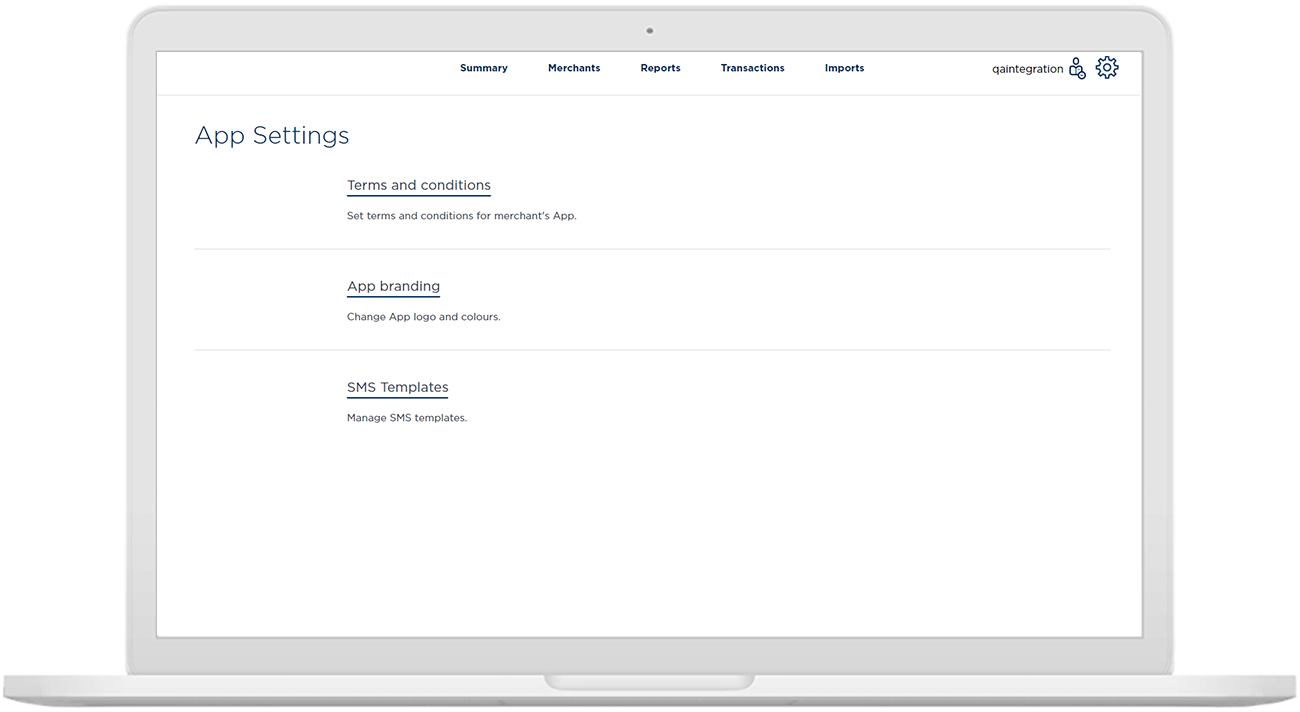
In the "App settings" page you are able to set the Terms & Conditions of your bank as well as the app branding and the SMS templates.
To navigate to app settings, go to the "Settings" screen, and then "App settings".
App branding
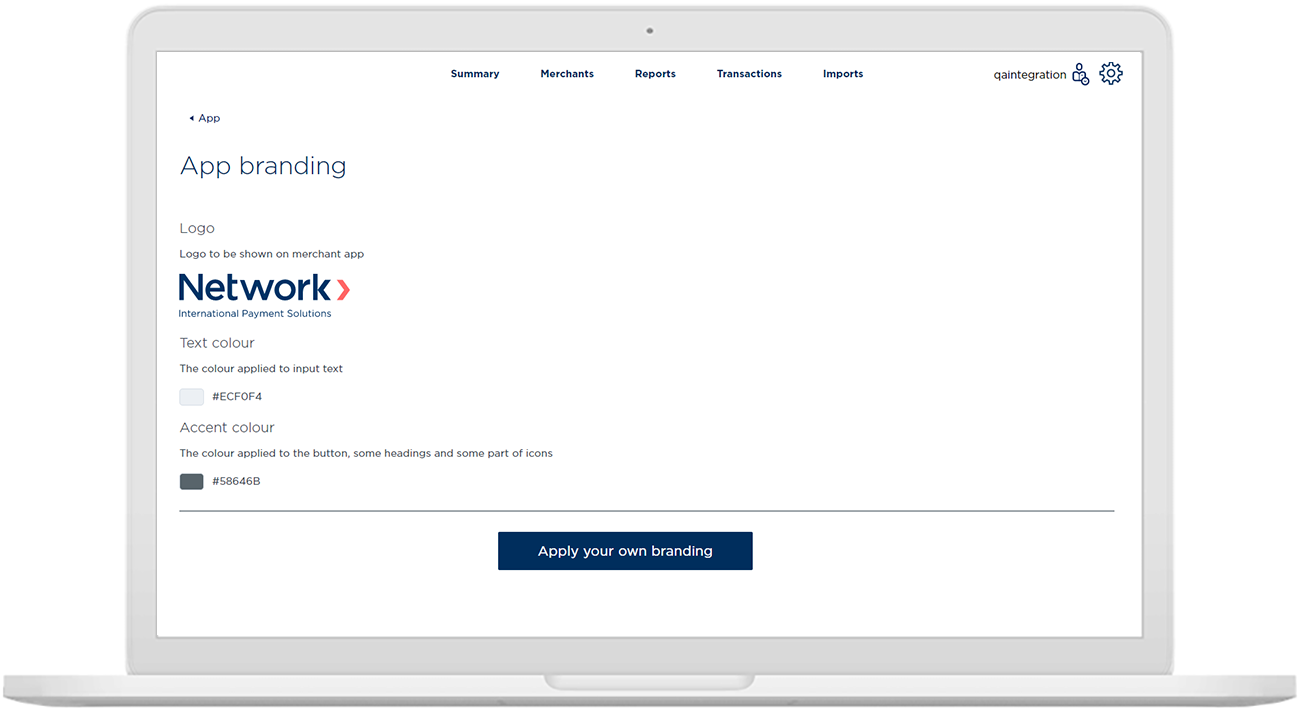
In the "App branding" settings, you can set the logo, text colour and accent colour, so your merchants will see your branding when downloading the merchant app.
SMS templates
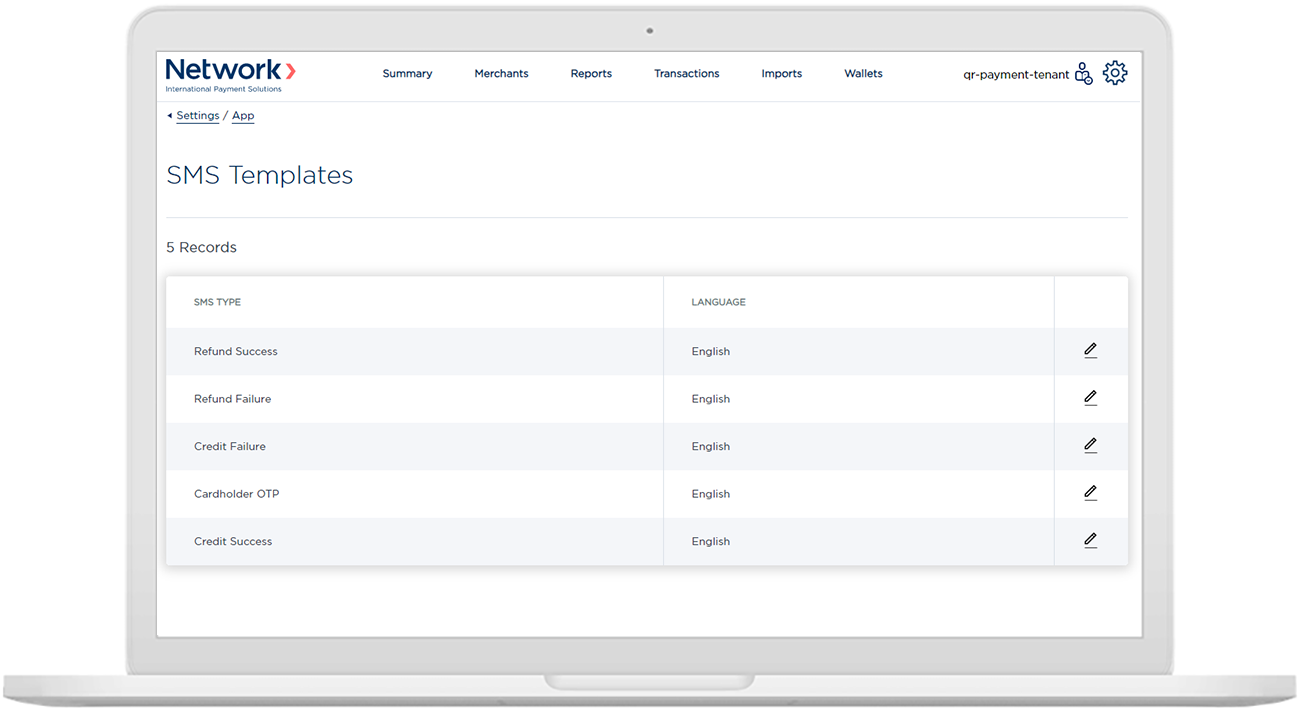
In the "SMS templates" settings screen, you are able to view the templates for SMSs that will be sent to merchants for different transaction notifications.
- Click on the "Edit" icon.
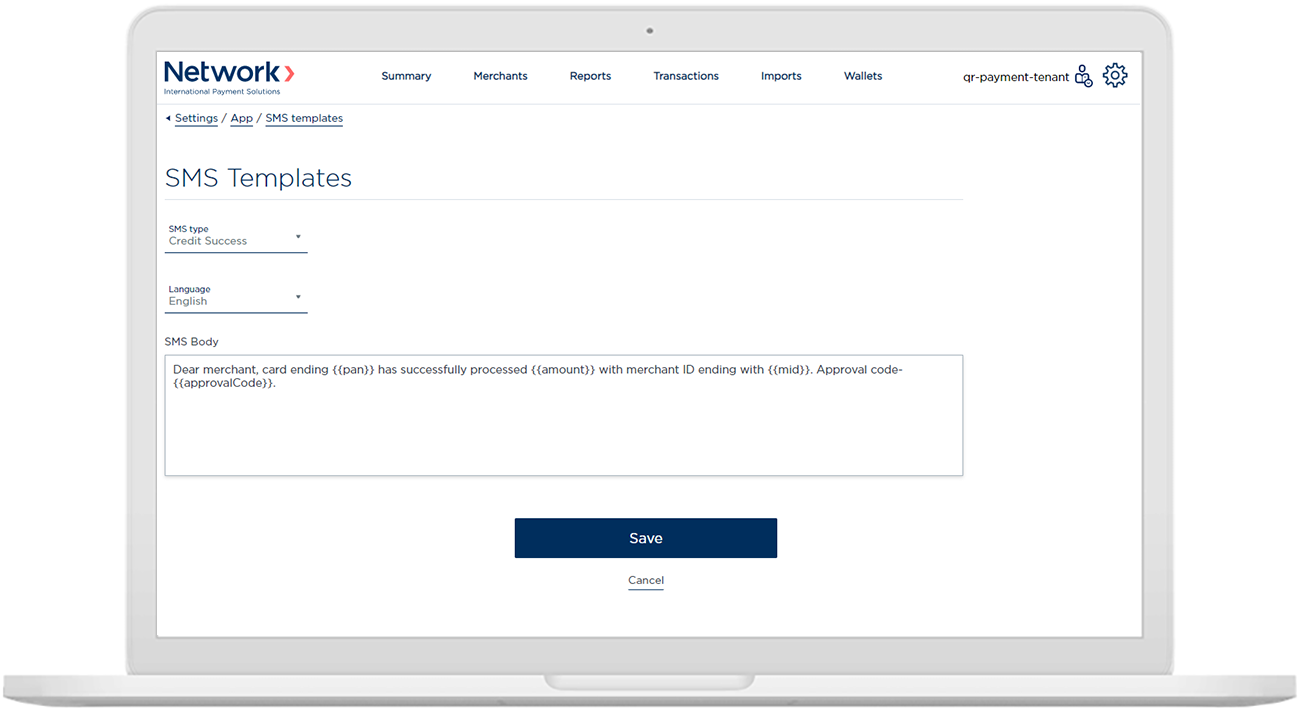
- In each of the templates, you can view the content of the SMS and change the text if needed.
Updated over 4 years ago
